Here’s one aspect of a Tiny House that doesn’t get a lot of love. The bottom, the underside, the hull, the undercarriage… Whatever you want to call it, it’s an often overlooked area. Choosing what goes under your unit is almost as important as choosing what goes on the sides.
There are loads of options to choose from. I’ve see spray-foamed units with no underbody skin at all, the foam just exposed, as well as units with exposed solid styrfoam insulation. Neither of these are appealing to me as they provide no protection from road hazards like rocks or water kicked up while moving your unit. They’re inexpensive but unprofessional and if you’re going for any type of certification they just won’t cut it.
Option 1 – Sheet metal
- Pros: Lightweight, long-lasting, keeps rats and rodents out
- Cons: Tough to install, tough to seal, more expensive
If you’re lucky enough to have an aluminum trailer, it would be smart to go with aluminum sheeting underneath. When steel and aluminum are in contact in the presence of water a galvanic reaction takes place that can corrode the metal over time. So it can be worth matching your underbody metal to your trailer. There are also several options for attaching the sheeting to the trailer. Some trailer manufacturers will tack weld the sheeting directly to the trailer for you, saving you time and possibly money. This is a great option although it makes installing any wooden trailer deck framework more difficult as you can’t step on the sheet metal for access to the inner sections of your trailer deck.
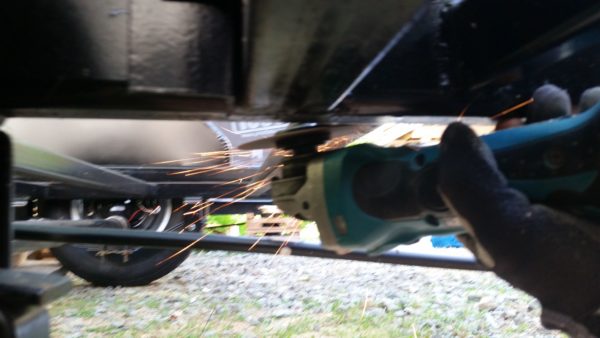
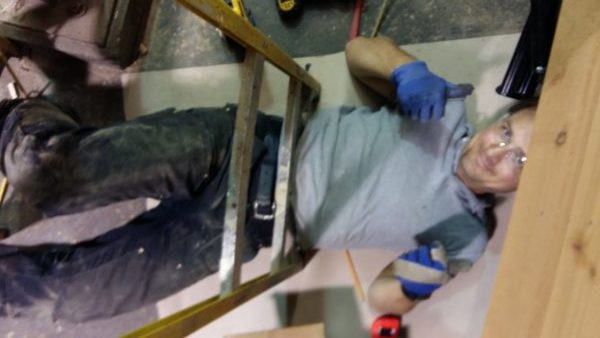
If you’re installing your own sheet metal, there’s certainly some work involved. Expect to be spending some serious time underneath the unit, drilling self-tapping screws into steel above your head! It’s worth having a quality impact driver, properly sized bits and a full face-shield. I’d also suggest wearing long sleeves, as you’re going to get showered in hot bits of metal. We’ve used long 2x4s and clamps to hold the metal in place while screwing it on. You’ll need to start at the back and work your way forward so that the metal is shingled in such a way that when rolling down the highway, the water can’t be driven up into the gaps between the metal. Even when shingled properly, we like to use a sealant tape on any lap joints and to seal the edges of the sheet metal to the trailer frame. I’ll be posting a detailed explanation of how the metal goes on in the future.
Tools required:
- Clamps
- Face Shield
- Impact Driver
- Self-tapping screws
- Sheet metal shears (nibblers)
- “Tin snips“
- Caulk & Caulking Gun
Option 2 – Exterior grade plywood
- Pros: Less expensive, easier to work with, easier to make future repairs
- Cons: Less durable than metal, less likely to keep rodents out
Plywood is easier to work with and relatively inexpensive. It also makes any future repairs easier than they would be in metal. You need to ensure that you use treated, exterior grade plywood as it will be exposed to water. This in turn means you’ll need to make sure your self tapping screws won’t react with the chemicals used to preserve the wood, much the same as when you’re building a deck or fence out of treated lumber. Again, you can use long 2x4s clamped in place to hold the sheets of plywood in place as you drill through them and into the metal of the trailer. You may also wish to run a bead of caulking along the bottom of the trailer to seal the sheets to it and to give it some extra sticking power. Plywood sheets can be butted against each other instead of shingled, with caulking used to seal the seam and keep out water and pests. When finished, also run a bead of caulk between the edges of the sheets and the frame of the trailer. I have a a Tiny House in the planning phases that will use a plywood underbody and will be posting an in-depth article after installing the panels.
Tools required:
- Clamps
- Face Shield
- Impact Driver
- Self-tapping screws
- Circular Saw
- Caulk/Sealant (Avoid 100% silicone with treated wood)
- Caulking Gun
Has anyone seen any interesting alternatives to metal or treated plywood? We’d love to hear about them in the comments below.